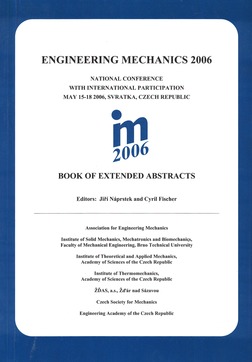
Proceedings Vol. 12 (2006)

ENGINEERING MECHANICS 2006
May 15 – 18, 2006, Svratka, Czech Republic
Copyright © 2006 Institute of Theoretical and Applied Mechanics, Academy of Sciences of the Czech Republic, Prague
ISSN 1805-8248 (printed)
ISSN 1805-8256 (electronic)
list of papers scientific commitee
pages 200 - +12p., full text
During reverse engineering, a point cloud typically acquired using scanning techniques is used as a basis for constructing 3D CAD surface data from a physical model. This enables a considerable speed-up of the design and construction process as well as an early quality control of the physical model through comparison of physical object data with CAD surface data. Using the digitizing system ATOS (Advanced Topometric Senzor), object can be measured quickly and with high local resolution. Each single measurement generates up to
back to list of papers
Text and facts may be copied and used freely, but credit should be given to these Proceedings.
All papers were reviewed by members of the scientific committee.

 Powered by
Imce 3.20 © 2023, Pavel Formánek, Institute of Thermomechanics AS CR, v.v.i. [generated: 0.0145s]